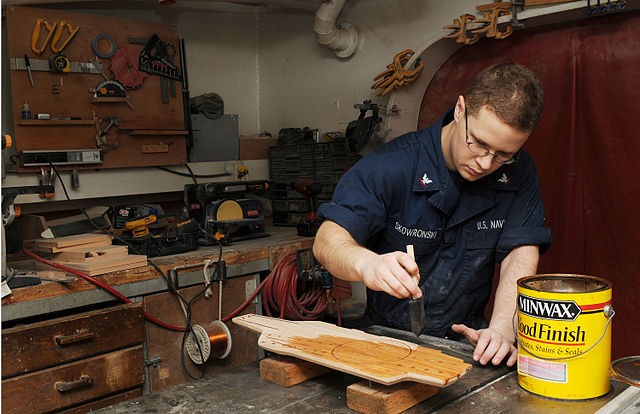
Tips for Wood Staining

It’s so awesome to watch the way trees grow, so many different twists and turn. All of this creating beautiful patterns in the grain of the wood when it is cut to make lumber.
Wood stain is a terrific way to accent all that beauty that nature has provided. You can use an array of colors to make any project look spectacular.
Once you have finished assembling your project. It’s time to make it look really great by adding some stain to enhance it..
Before you jump right in and start splashing the stain just any which way, here are some tips to pay attention to when applying it.
Staining is an easy task to accomplish. When done the correct way you will see great results.
Use Foam Brushes and Paper Towels
Rather than using a bristled paintbrush to apply the stain onto the wood, opt for a small foam brush. Foam brushes can be used for this one job and then thrown away. Stain is very difficult—almost impossible—to get out of a paintbrush. When wiping the excess liquid stain away between coats, use strong paper towels rather than cloth, as these are easily disposable as well and don’t add any extra cleanup to the project.
Go With the Grain
Apply the stain by dipping the foam brush into the stain solution and wiping it in the direction of the grain of the wood, and then backward against the grain. By doing so, the color you’re applying will soak into the wood and the coloring will look natural. Any streaks will end up looking like part of the wood grain.
Apply Multiple Coats
A wood stain requires at least two coats for an even finish. Allow the first coat to dry almost completely, and then wipe the surface with a paper towel to remove the excess stain that can collect in patches of the wood. Then, apply a second coat with the foam brush and allow it to dry completely.
If you still haven’t achieved the hue you desire, try another coat or two. Never add another coat before the previous one has dried. Otherwise, the fresh stain will remove and push around the layer you’ve already applied.
Tips courtesy of doityourself.com


Nice info thanks a lot love diy
such a great page
yes yes!:)
Great organization tips!u
Jacob Weddle this is awesome. Diy page